

For partners A real situation
Your business is new. Get it ready for its first booking.
Work through the setup list on Today: your brand, a location, a service, your hours and a first client, then online booking and payments.
Recorded in a demo workspace. Narrated, with captions on.
Start from your setup list
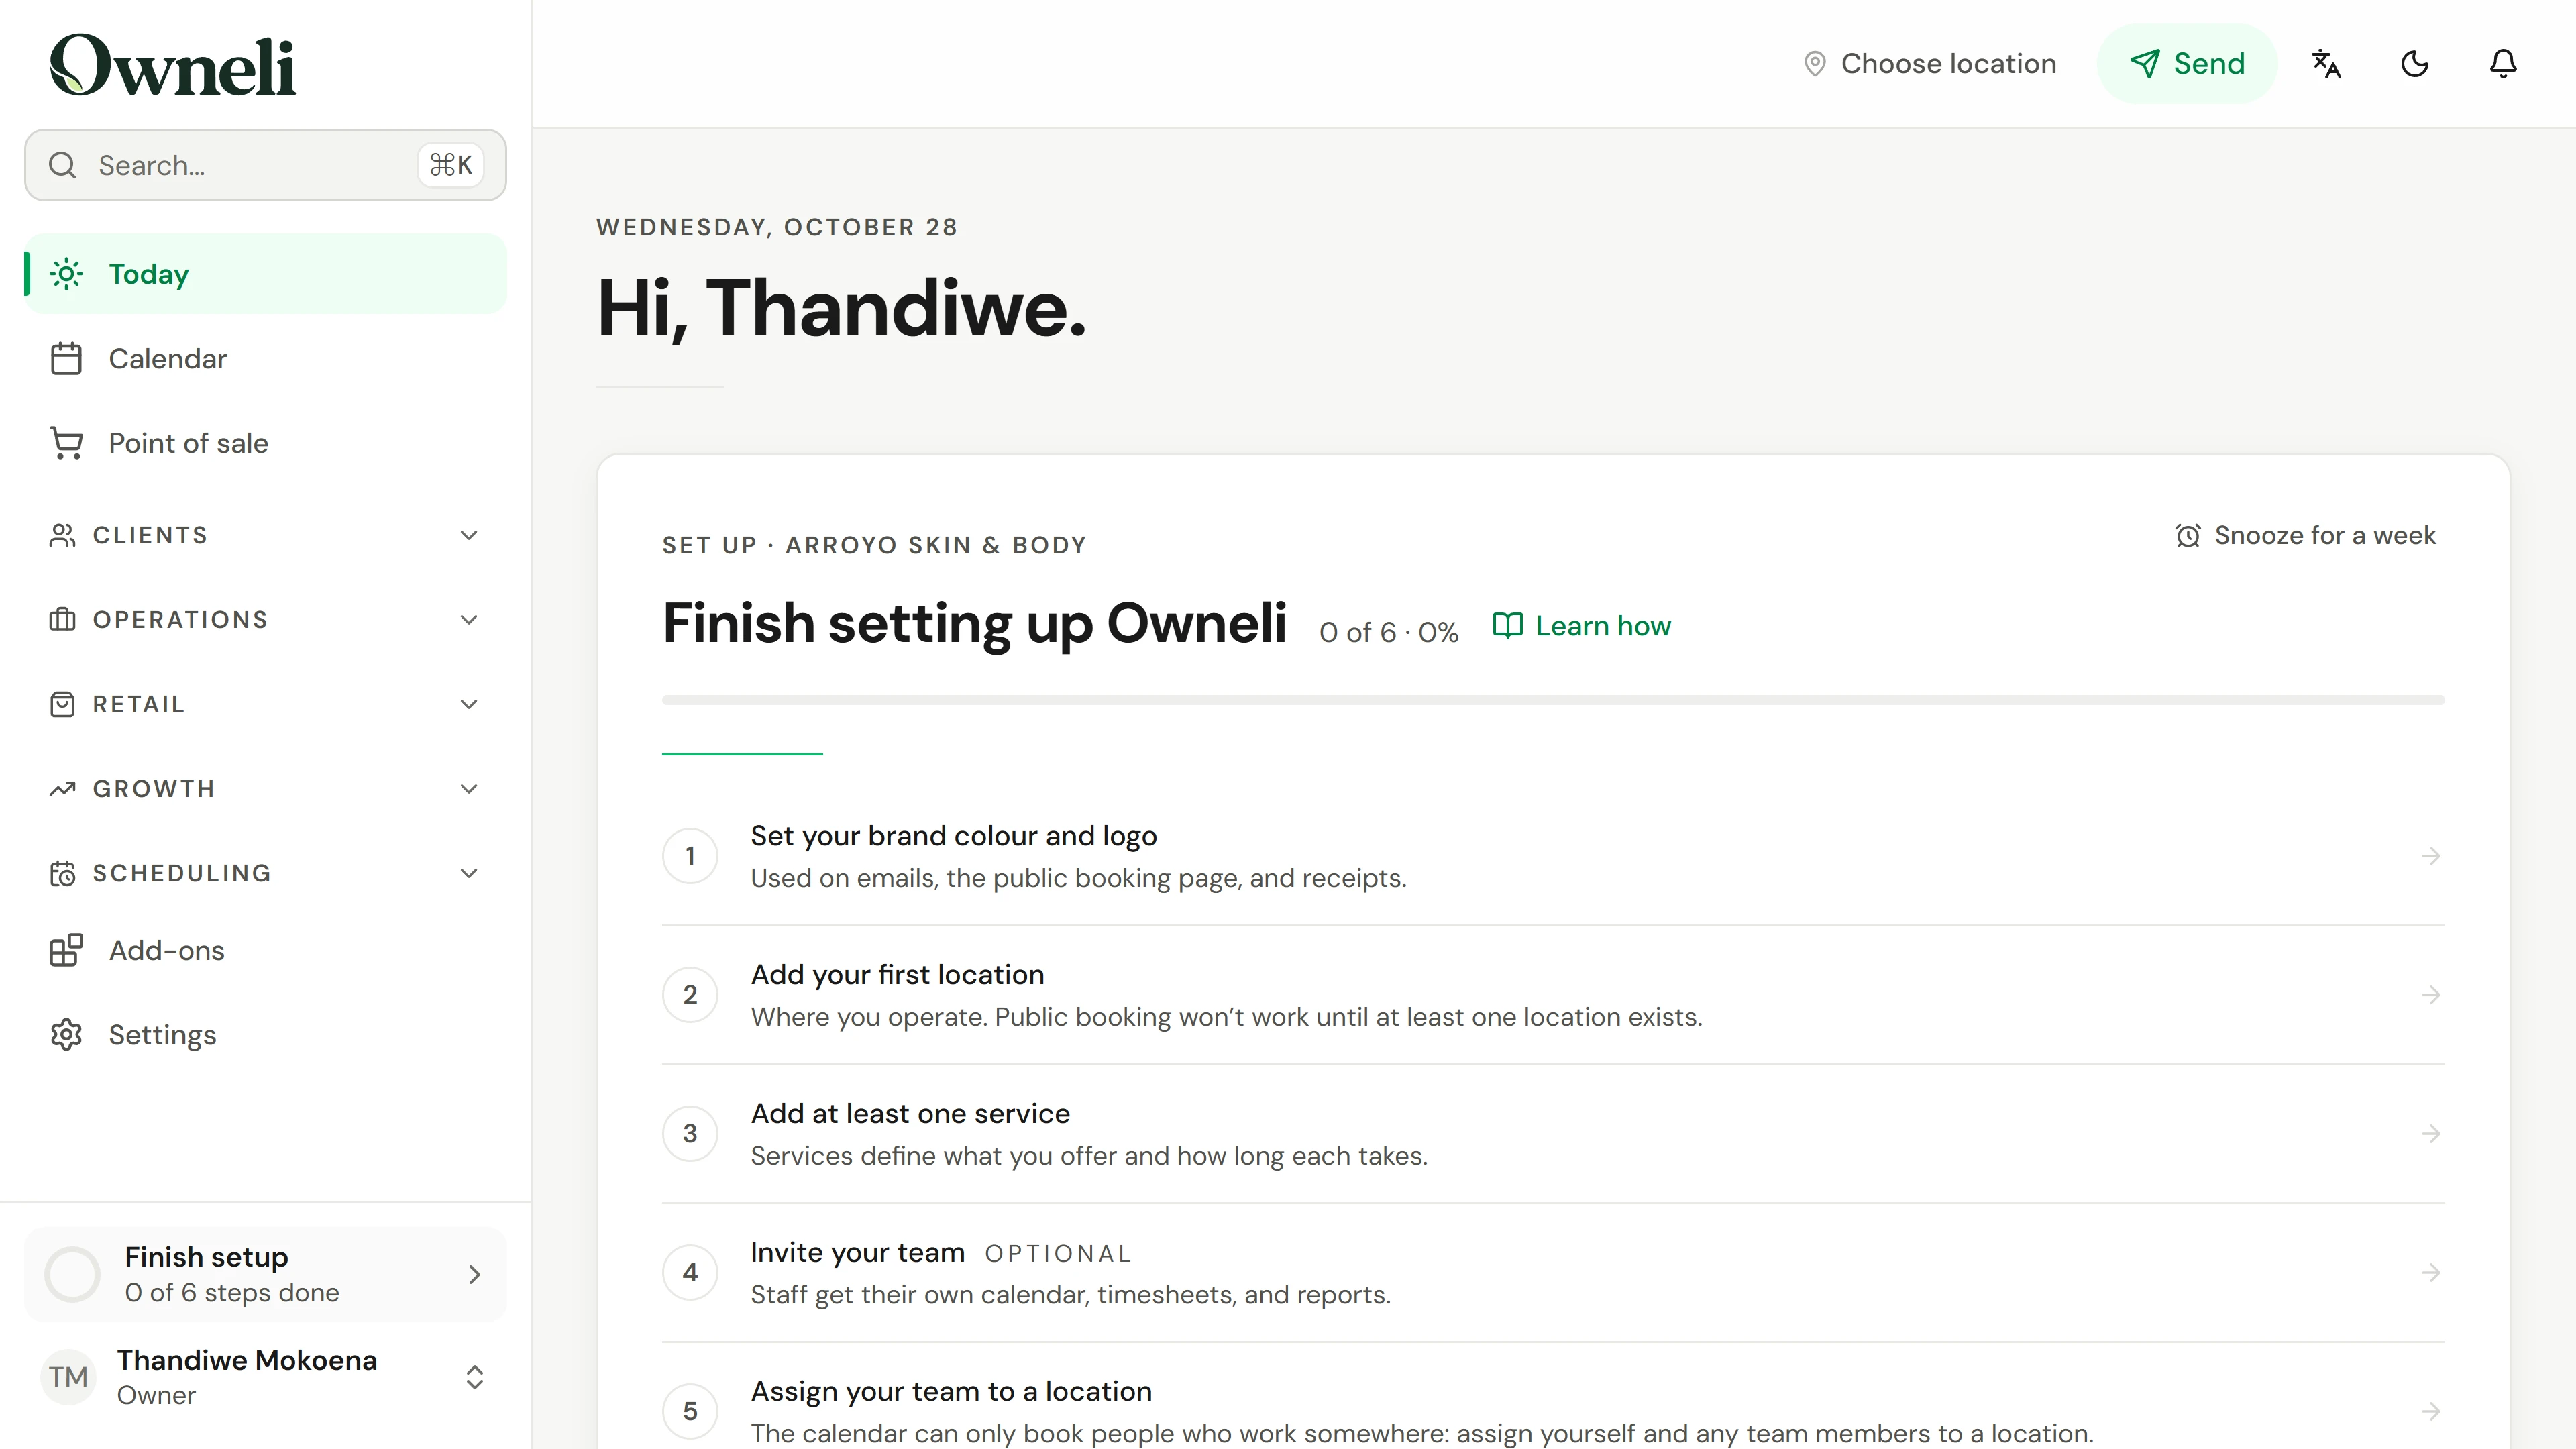
When you first sign in, Today shows Finish setting up, with six essential steps and some optional ones. Each step opens the page that does it and ticks itself off when it is done. Finish setup, at the foot of the menu, opens the same list from any page.
The situation
Put it into practice.
You have just signed up your salon. Before you share a booking link or take a payment, the business needs a location, something to book, and someone with working hours.
What you will take away
A business ready to take bookings: brand, location, a service, your hours and a first client, with online booking switched on.
Before you start
You need to be the owner or an admin. Have your address, your services with prices and durations, and your usual working hours to hand.
Keep in mind
The setup list counts six essential steps and steps aside for good once they are done; everything optional stays in Settings. Online booking only opens once there is a location, a service and someone with working hours. Connecting payments happens with Stripe and is not shown here.
Try the decision
Online booking is on, but clients see no times to book. What is the most likely gap?
Read the full walkthrough
1. Start from your setup list
When you first sign in, Today shows Finish setting up, with six essential steps and some optional ones. Each step opens the page that does it and ticks itself off when it is done. Finish setup, at the foot of the menu, opens the same list from any page.
2. Make it look like your business
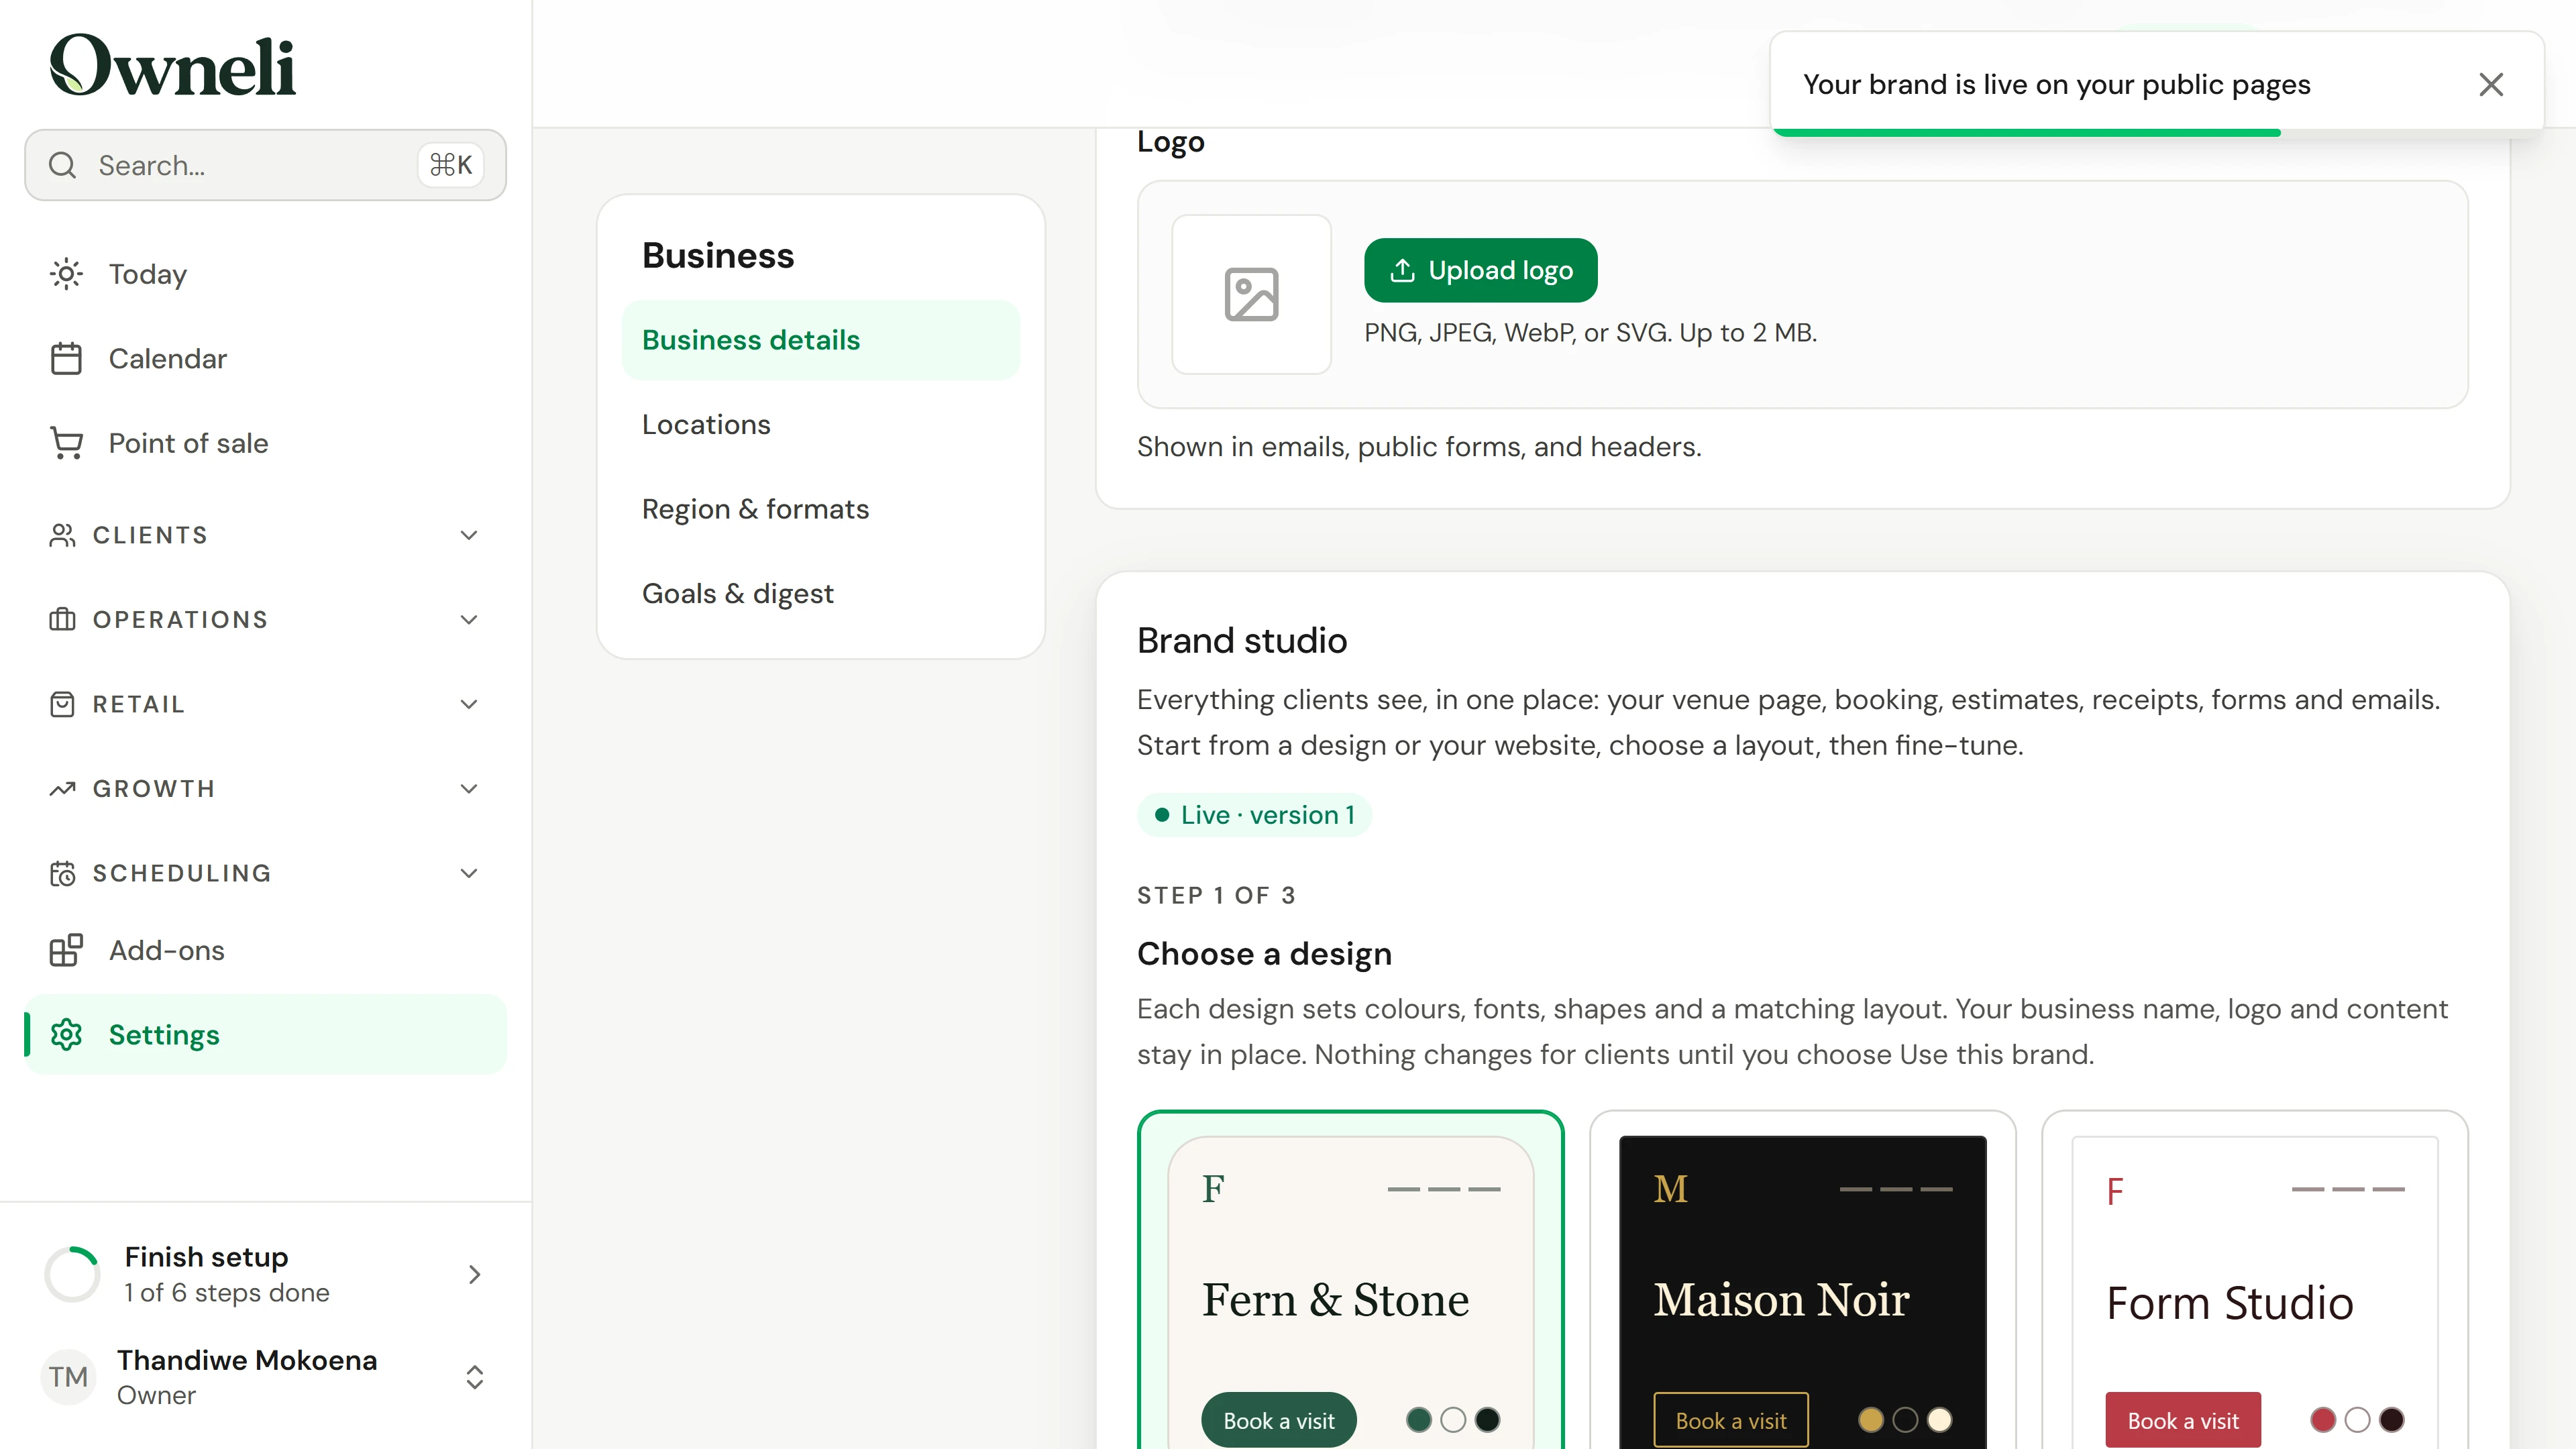
Choose Set your brand colour and logo. In Settings, upload your logo, then in Brand studio choose a design or start from your website, and choose Use this brand. It shows on your booking page, emails and receipts.
3. Add your first location
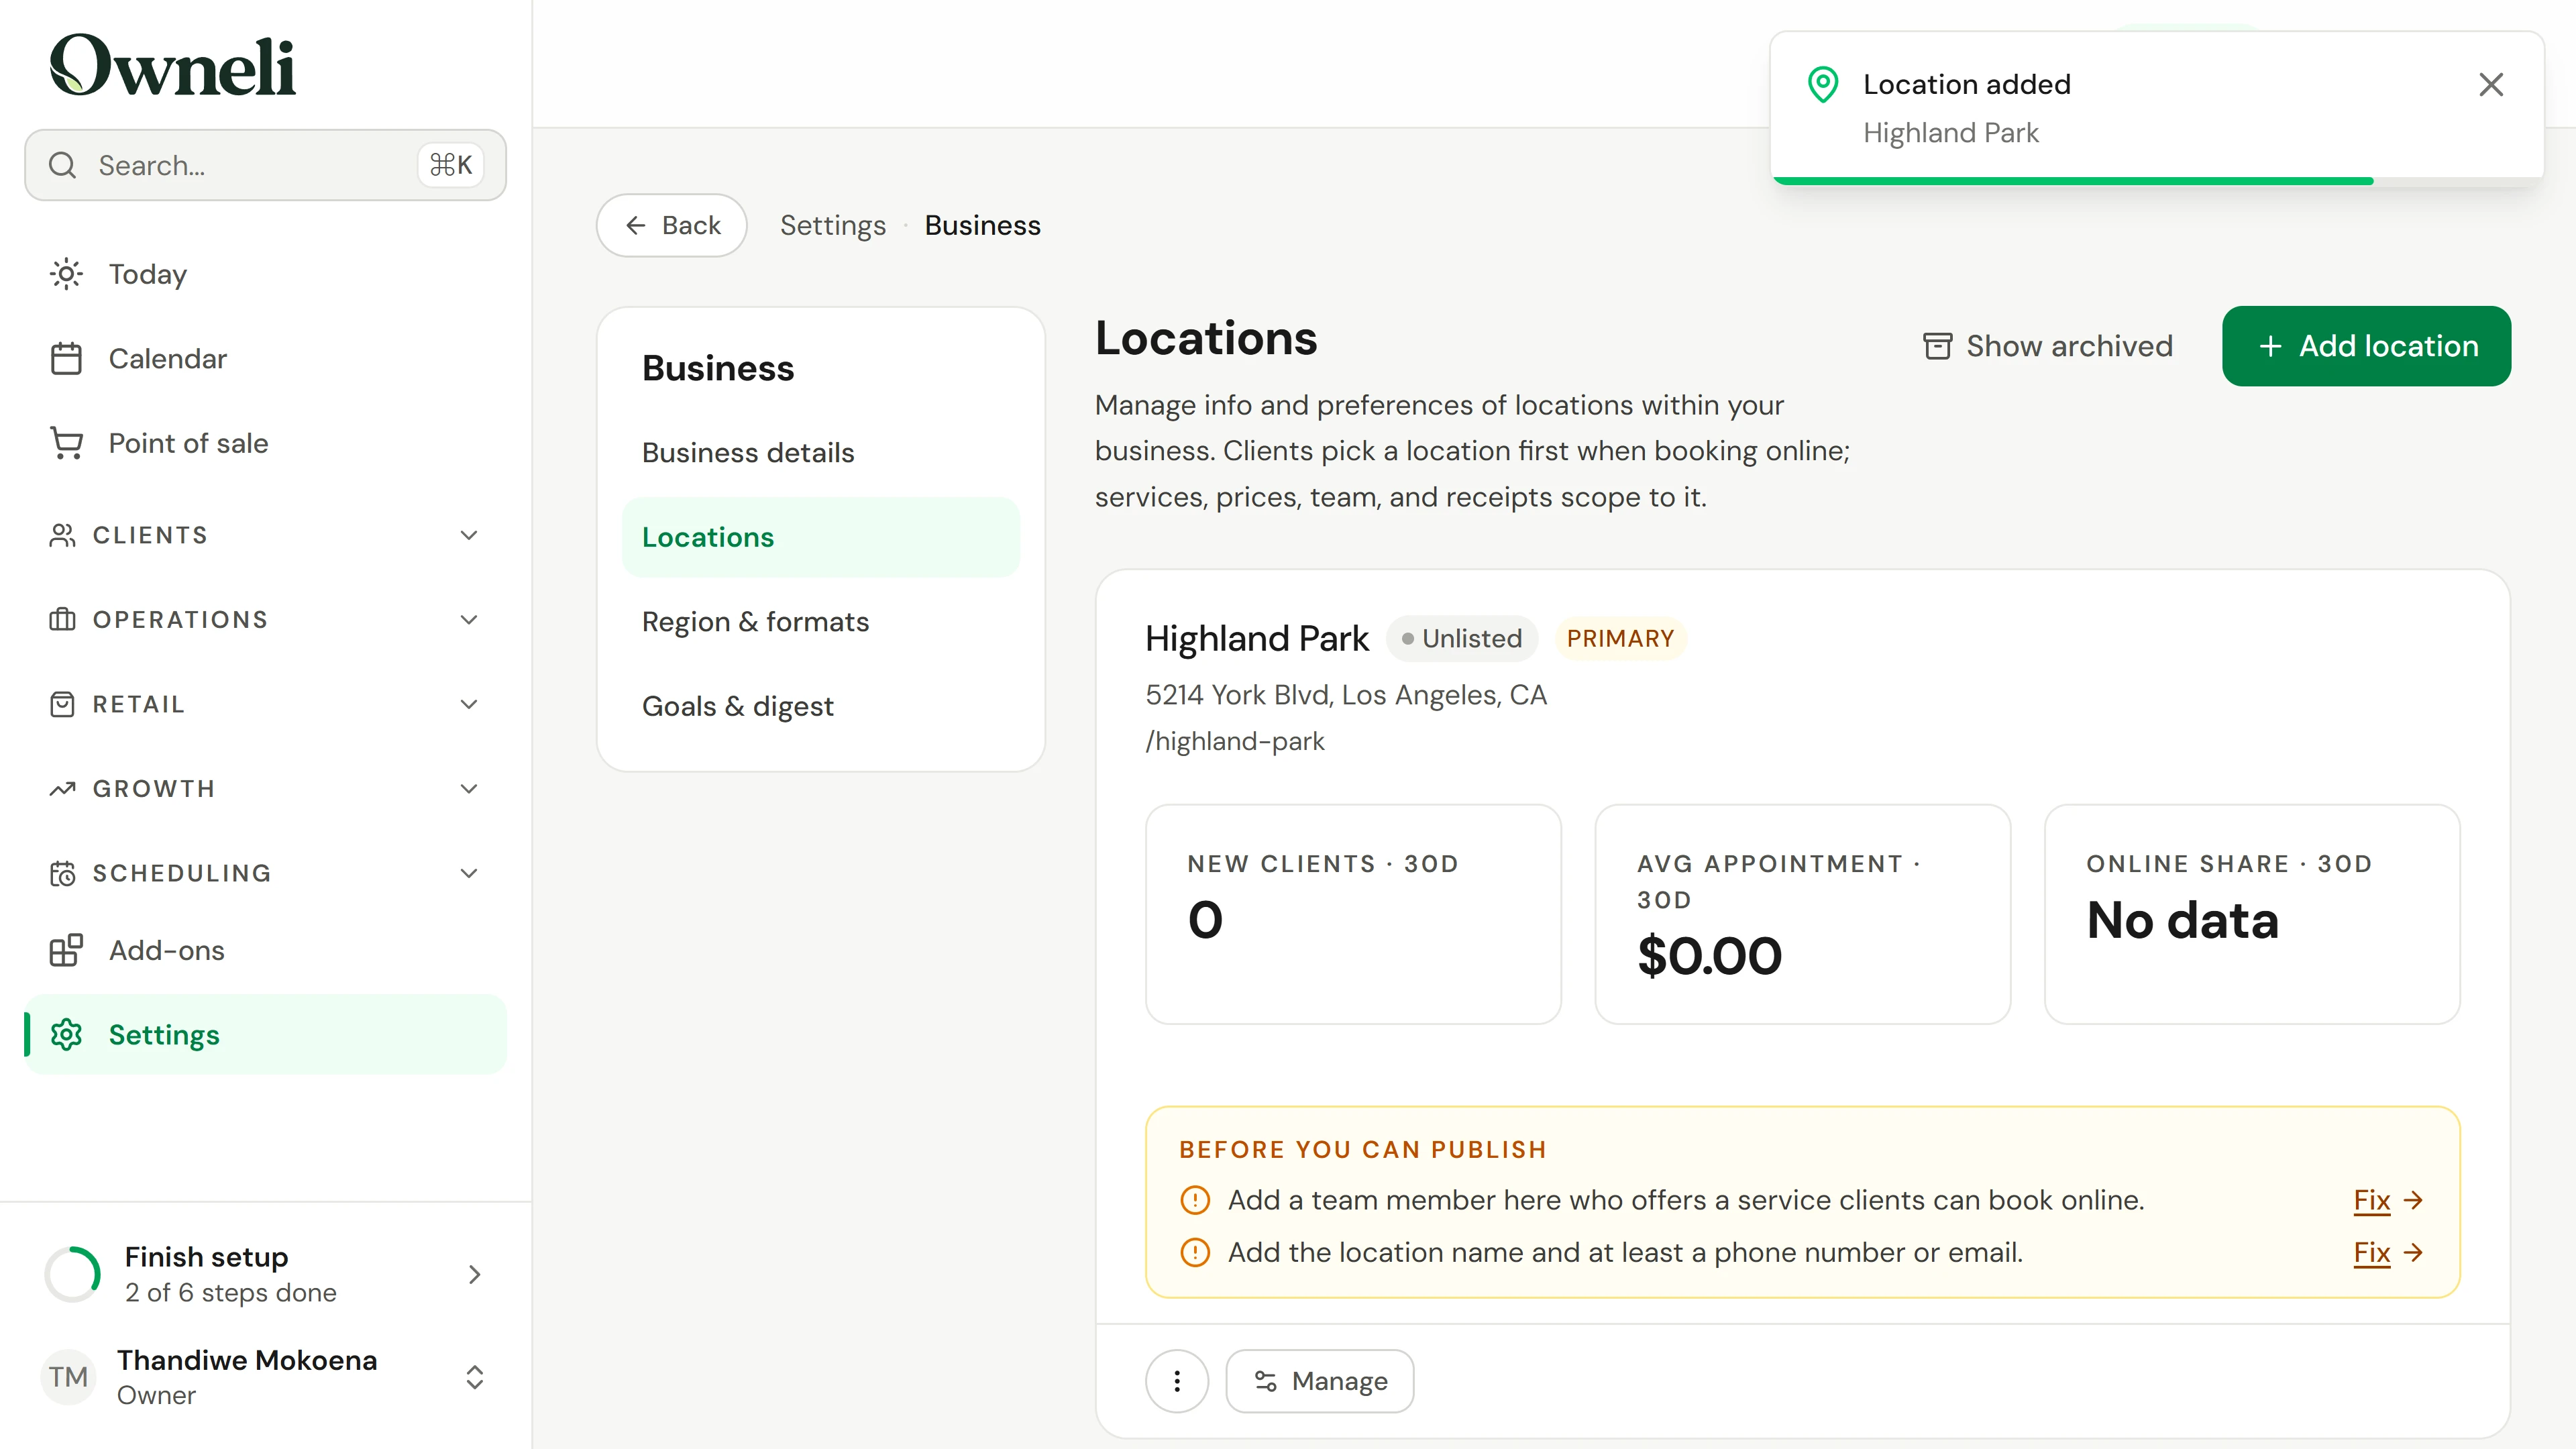
Choose Add your first location, then Add location. Name it, choose what kind of business it is, enter the address and check the time zone, then confirm the opening hours and save.
4. Add what you offer
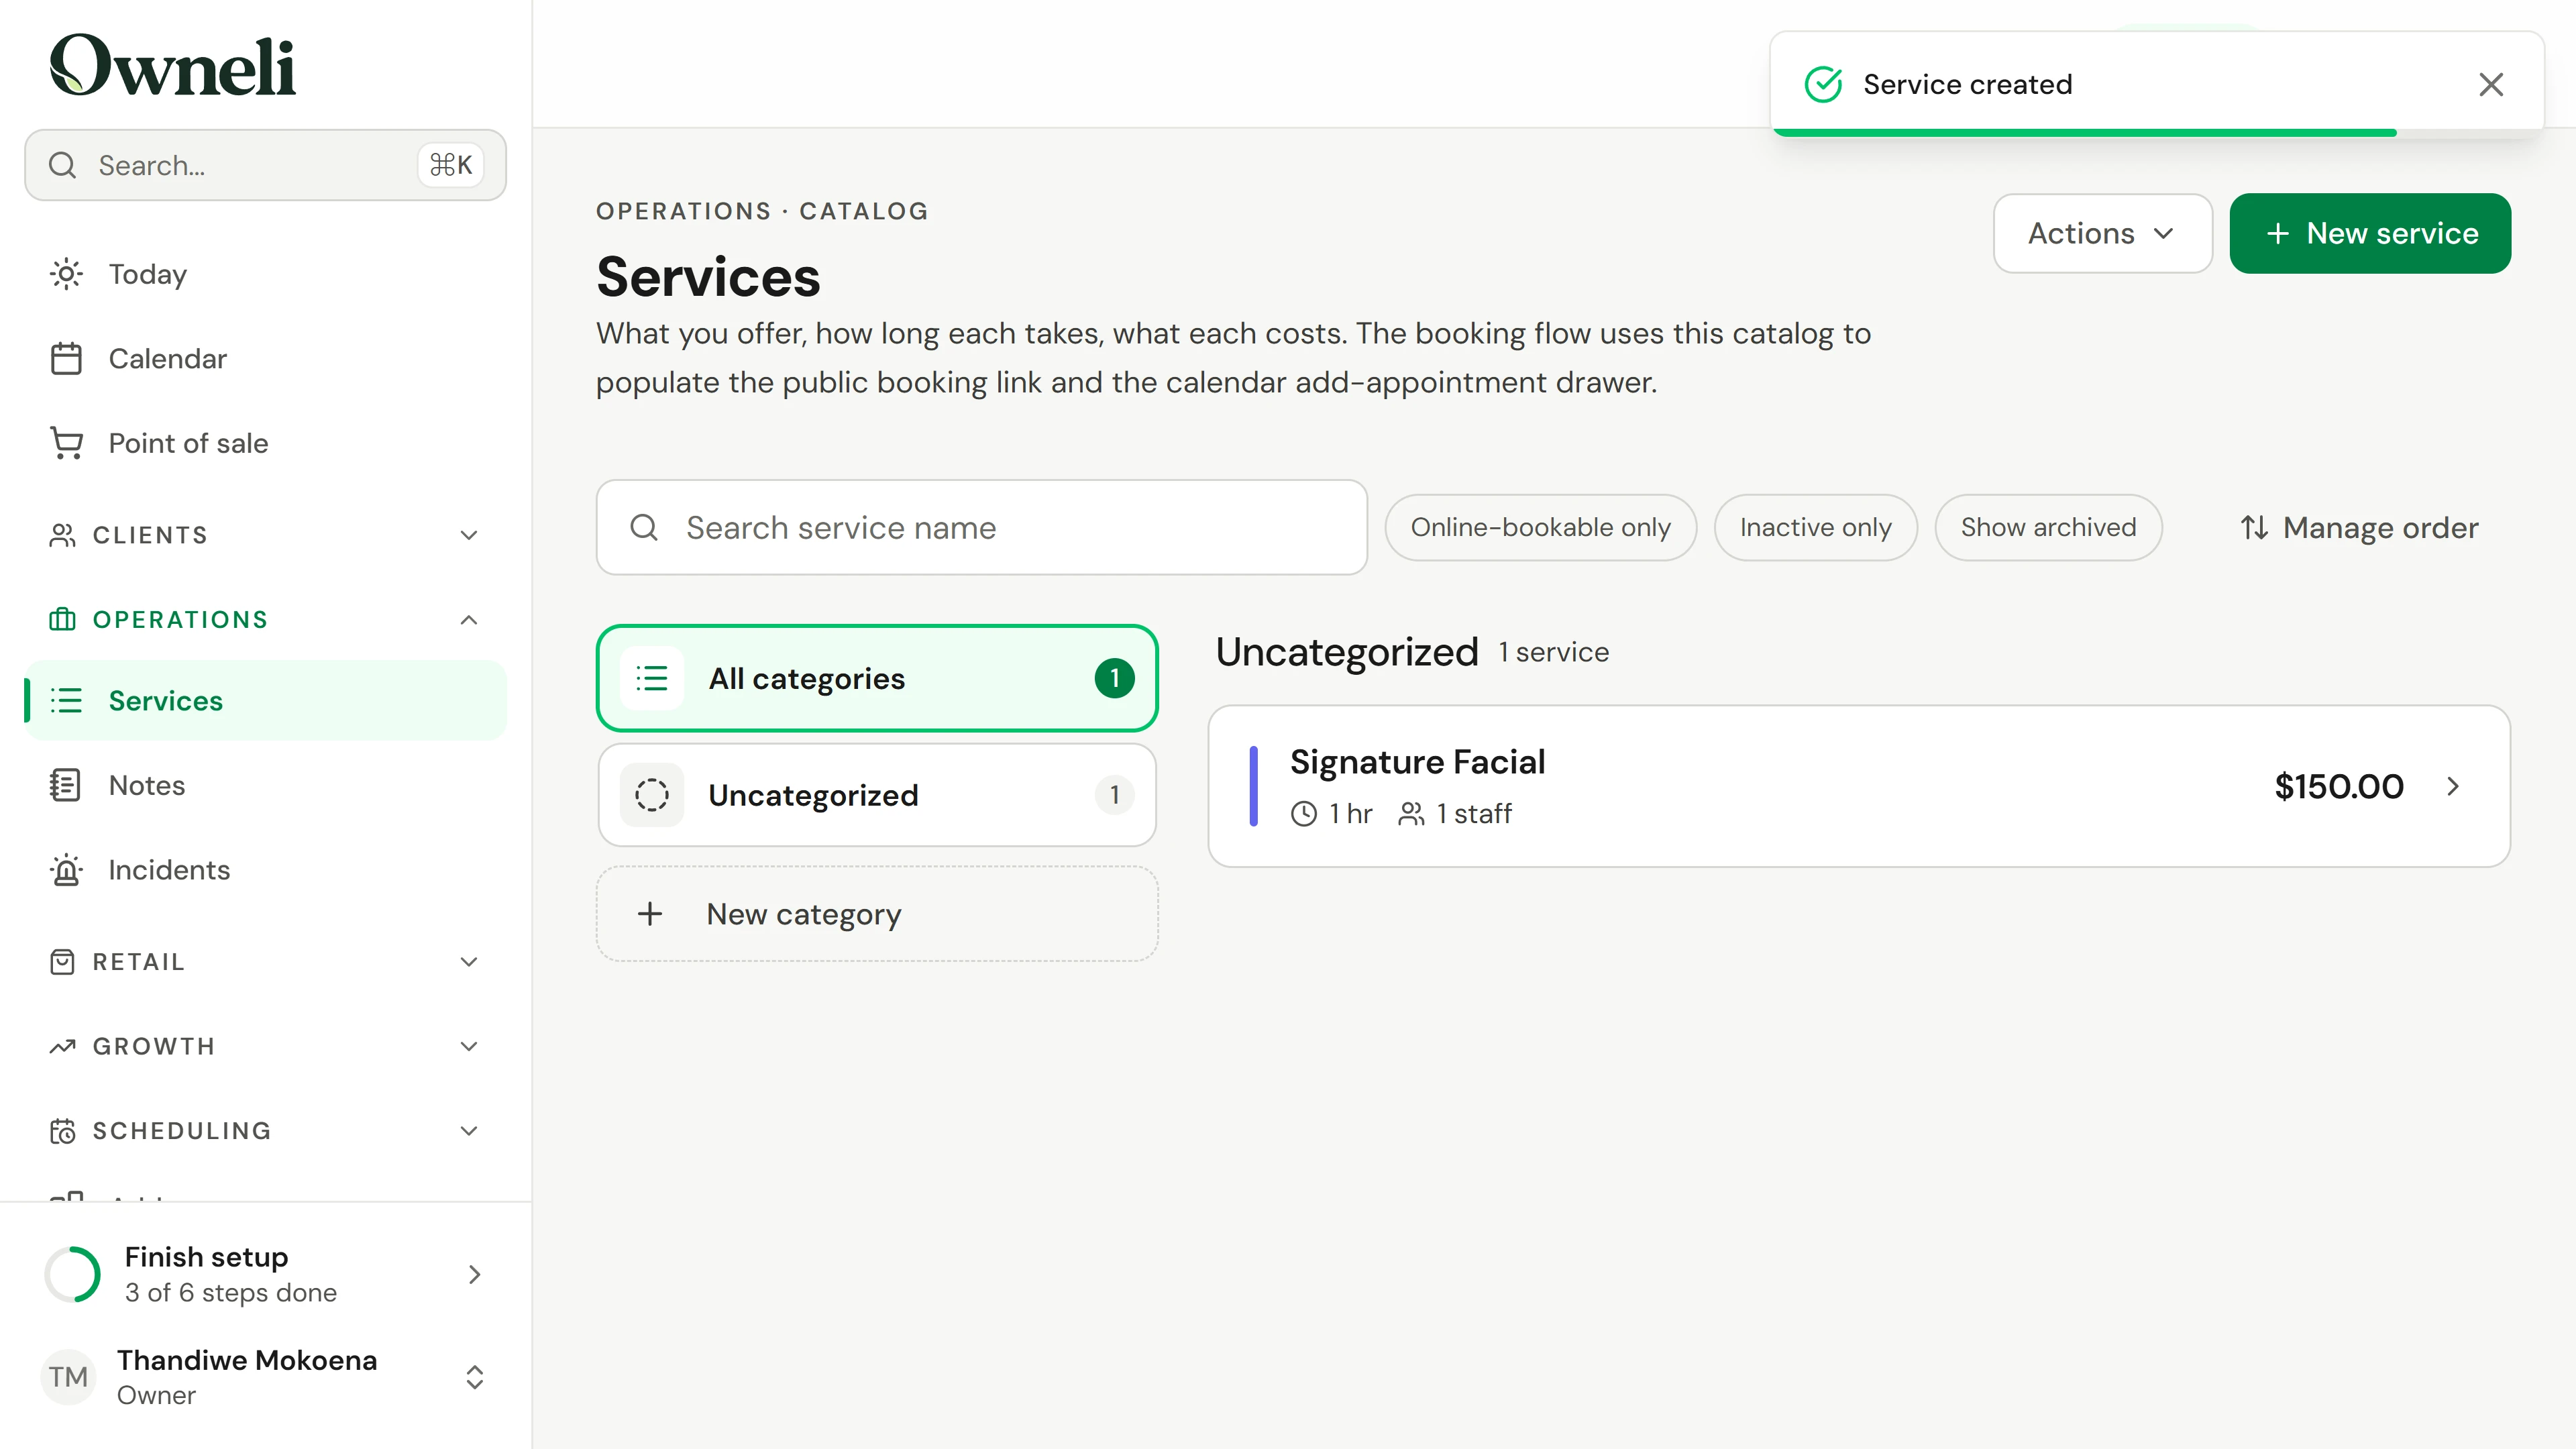
Open Finish setup and choose Add at least one service. Choose New service, enter its name, price and duration, then Create service.
5. Work at your location
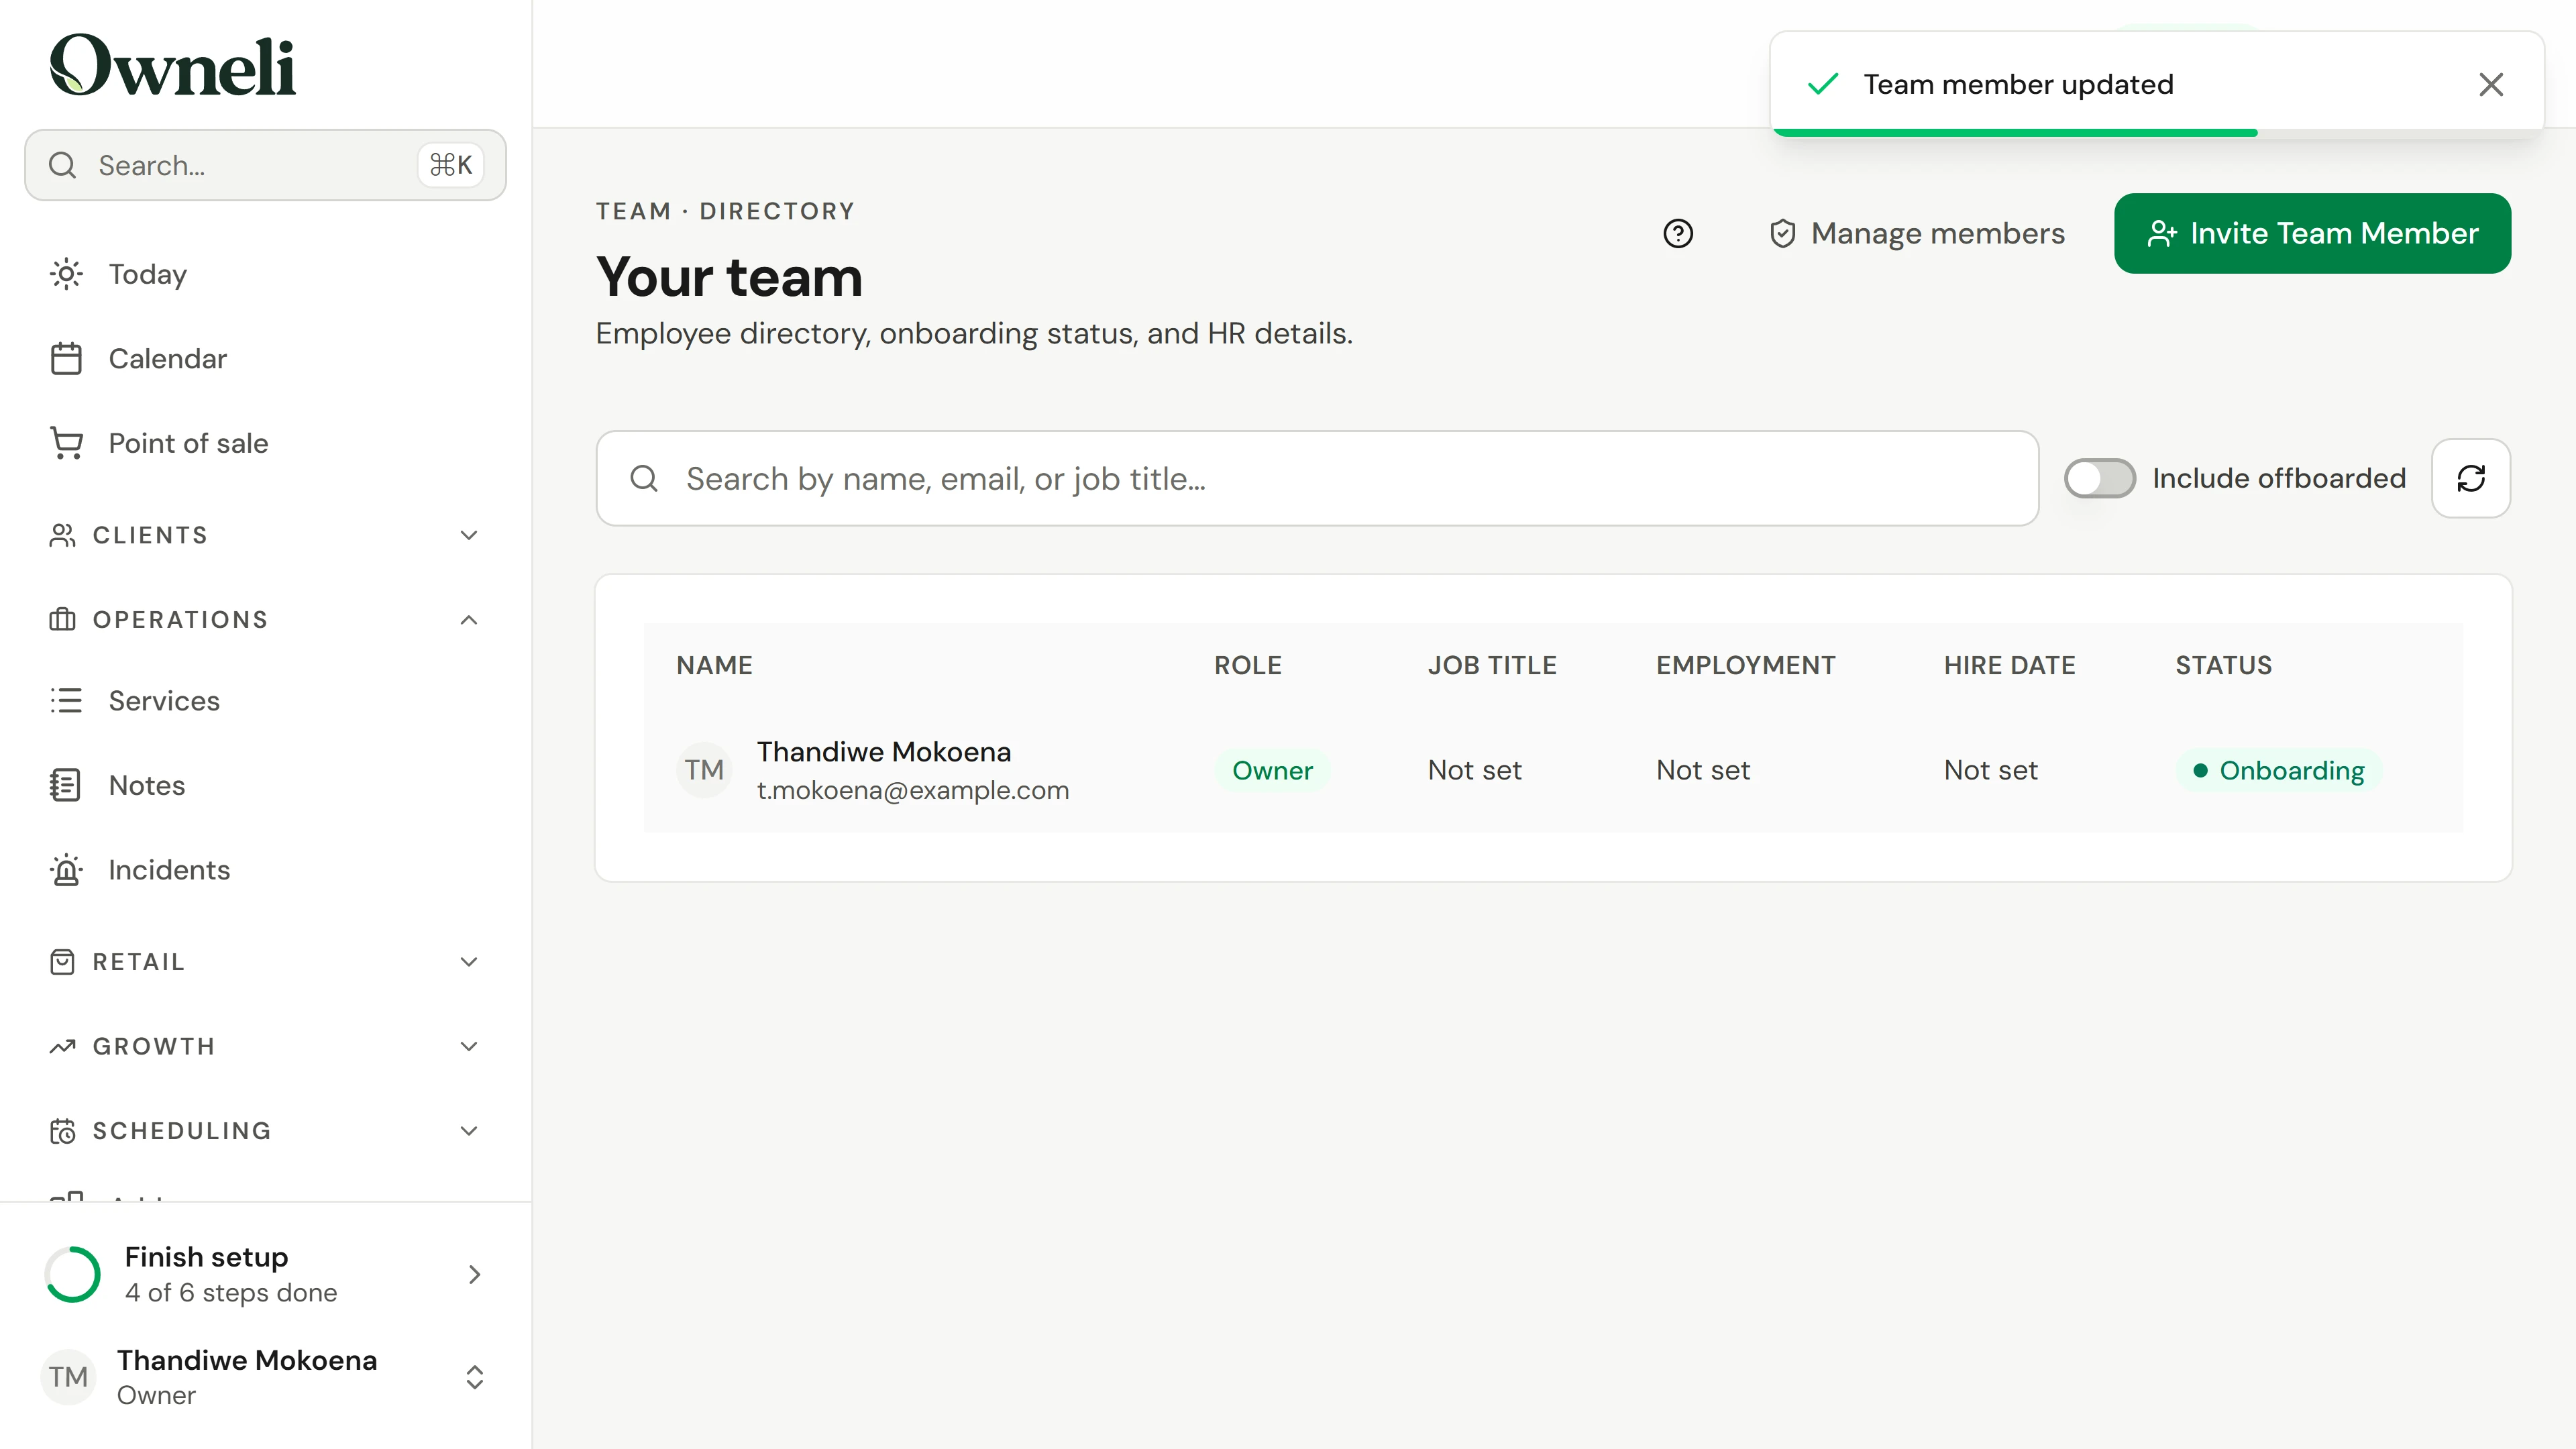
To be bookable you need a location and working hours. Choose Assign your team to a location, open your name in Team, choose Edit, tick the location under Locations and save.
6. Set your working hours
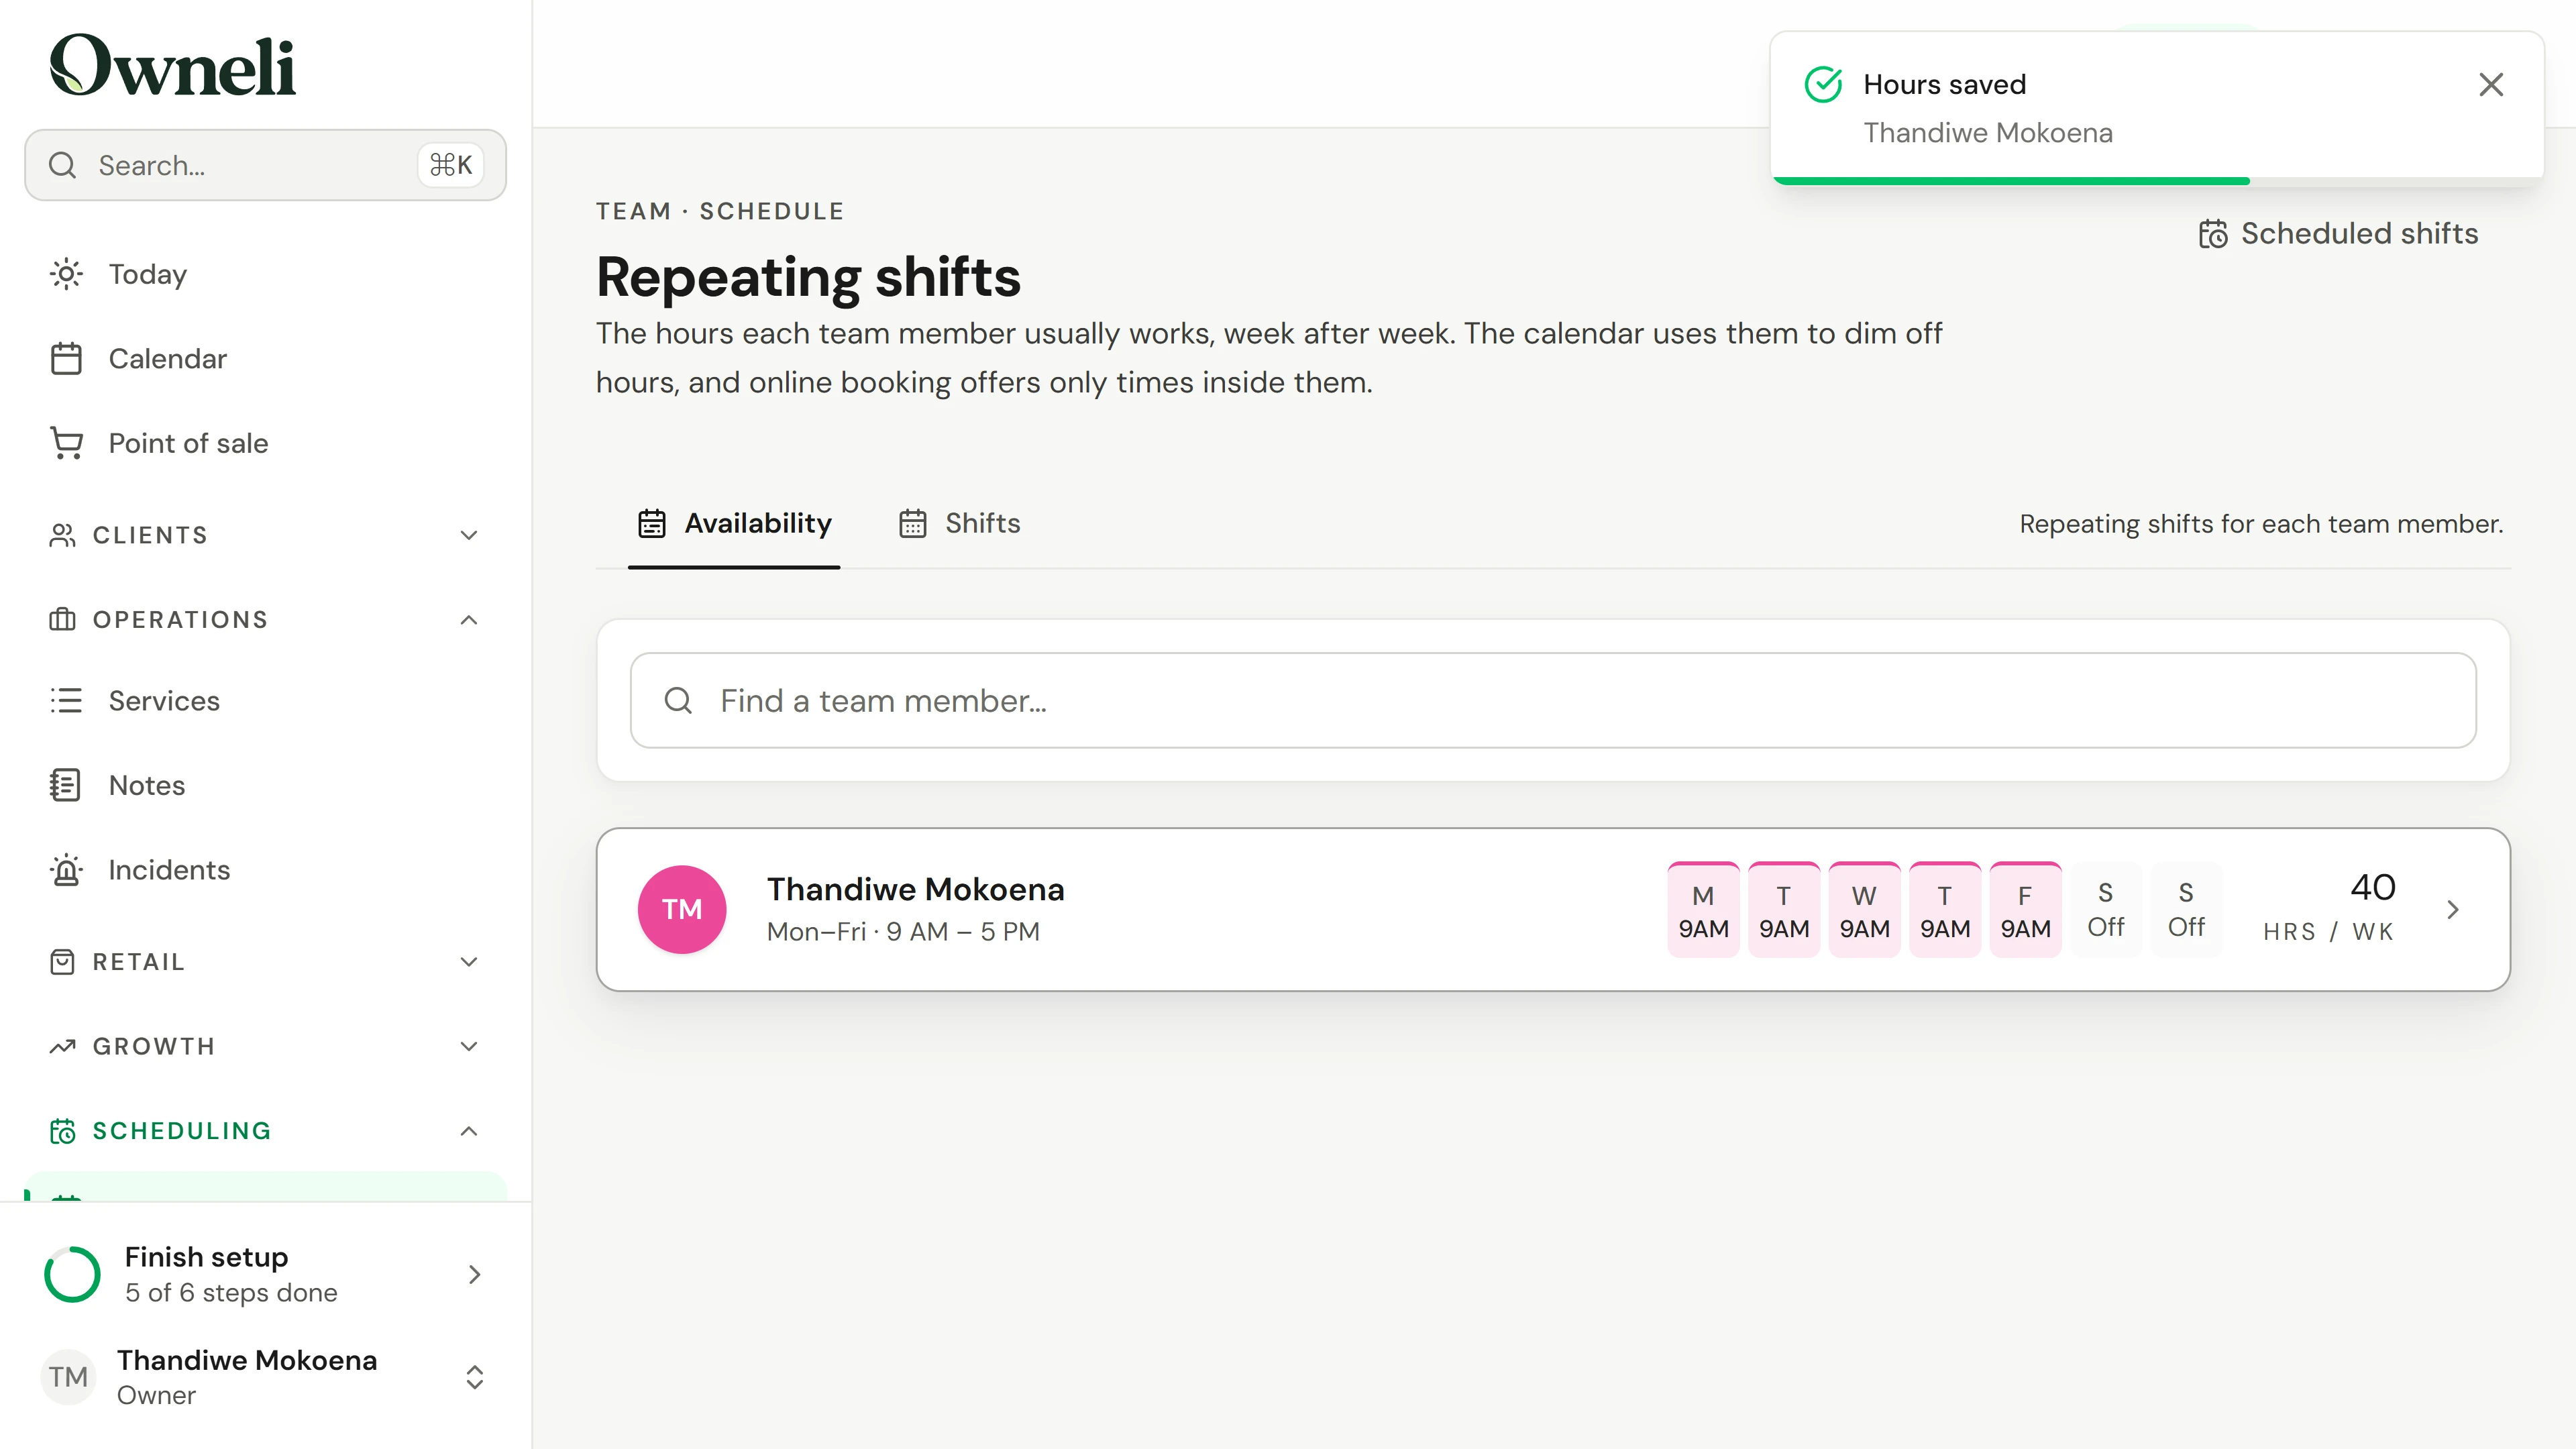
Choose Set staff working hours. Open your name in Scheduling, tick Monday, copy it to the other weekdays and save the hours. Without hours, nobody appears as bookable.
7. Add your first client
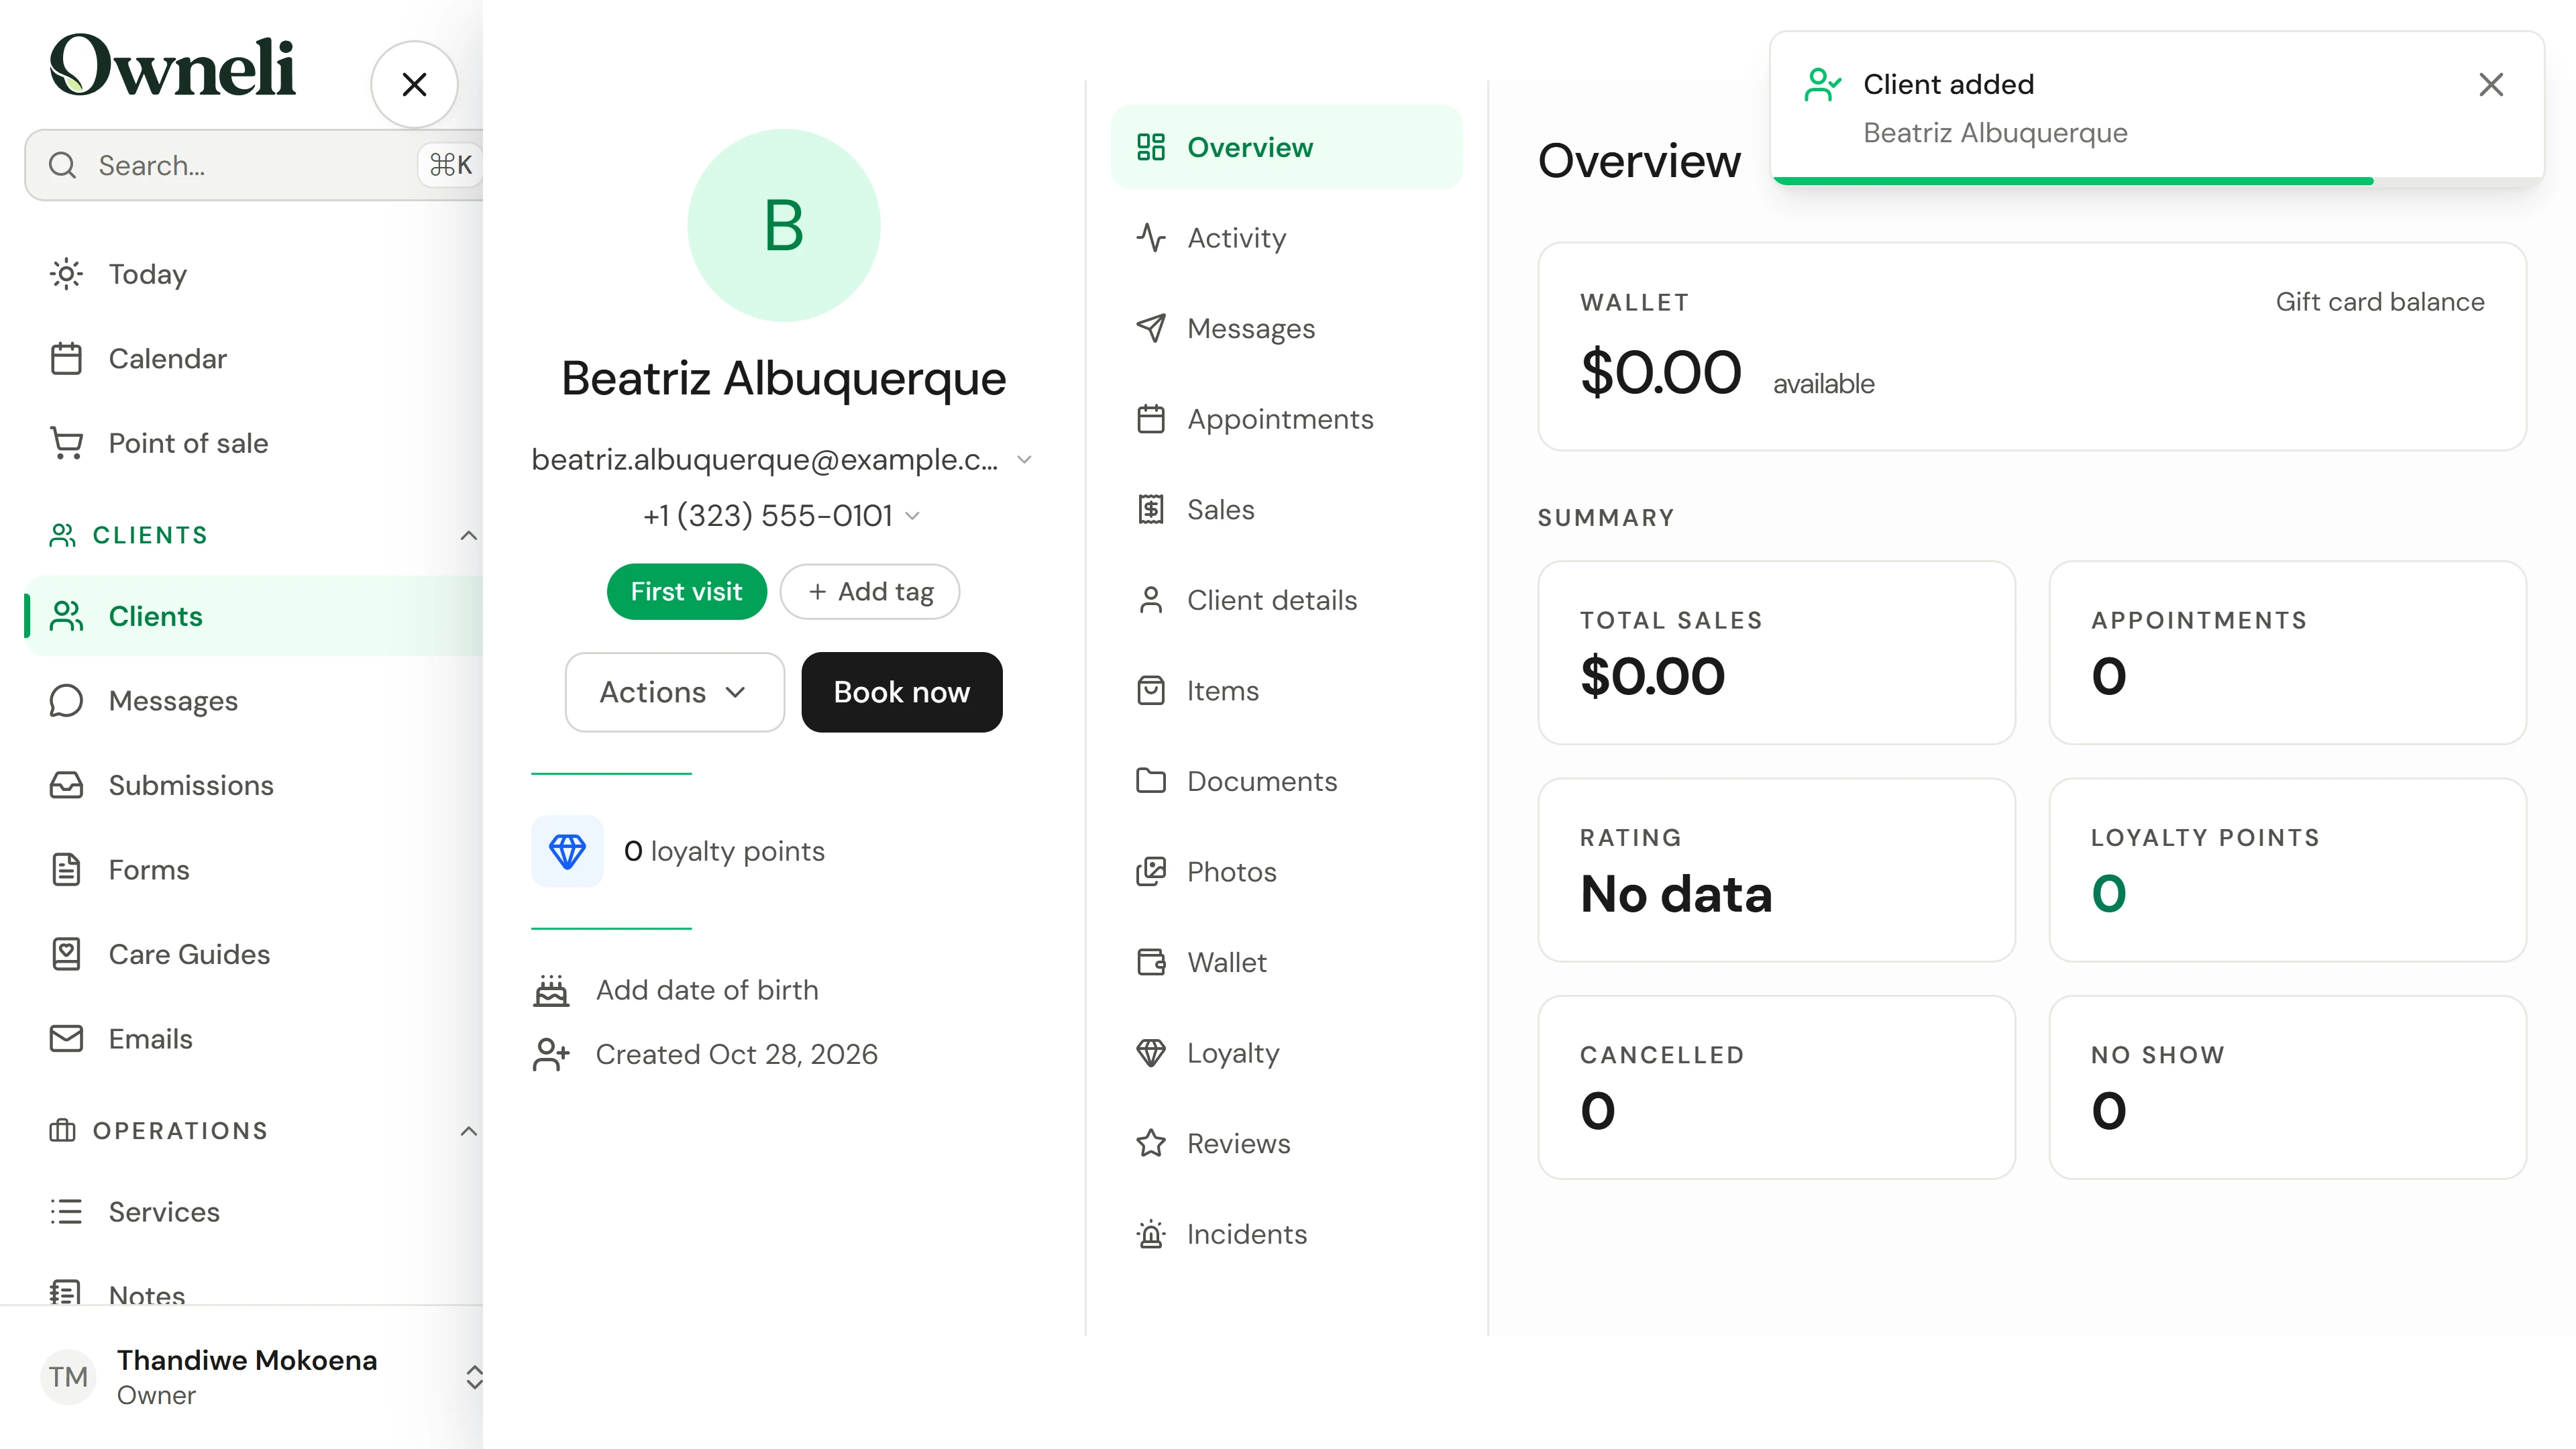
Choose Add your first client and add their name, mobile number and email, or import your client list from another system instead.
8. Open for bookings and payments
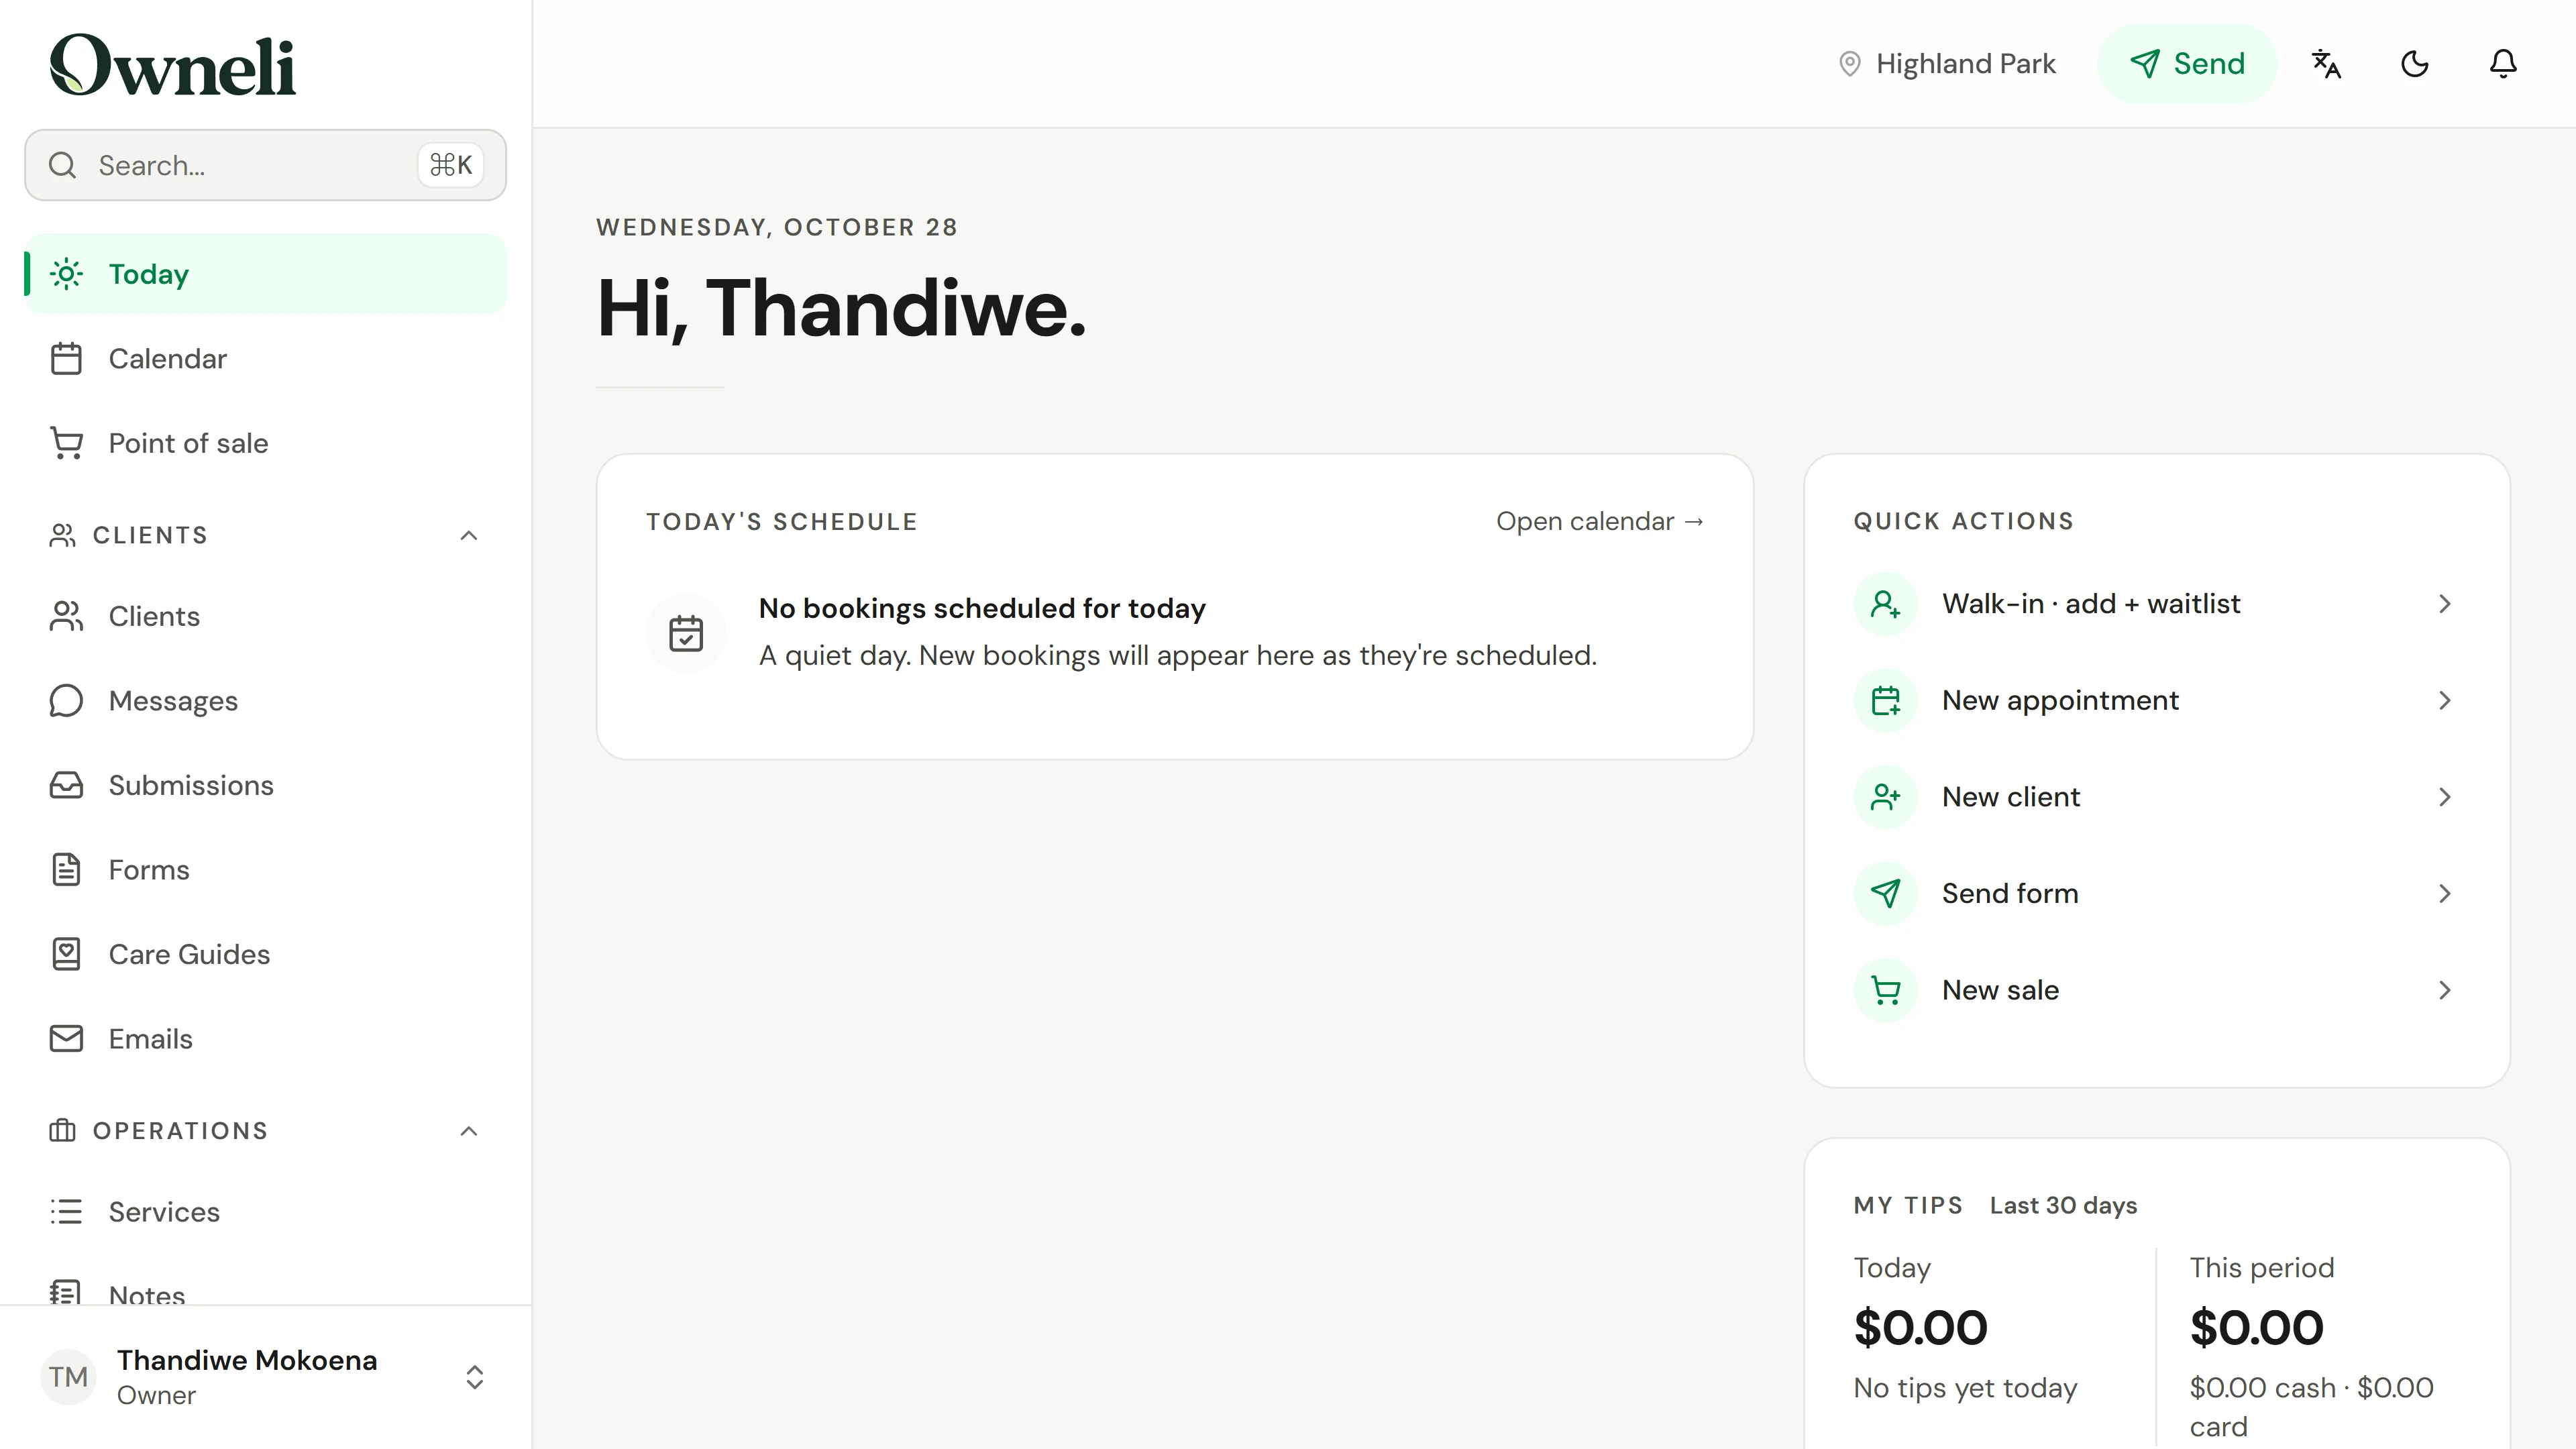
In Settings, choose Online booking under Booking, switch on Accept bookings from the public link and save; your booking link appears. Back in Settings, Tax rates holds your sales tax, and Card payments connects Stripe for card payments and deposits. Back on Today, the finished setup list no longer shows.
Go deeper